 Attack on Titan 3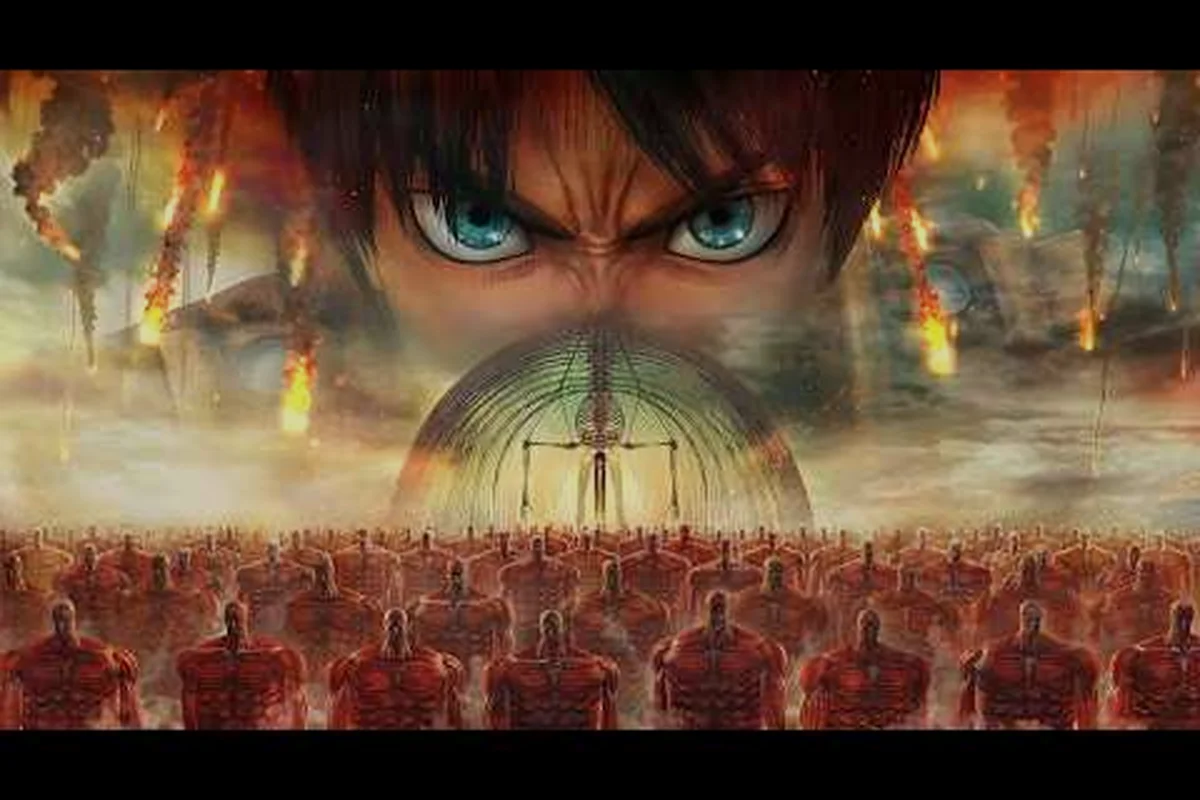
Combat abilities in Attack on Titan 3 are the three pillars — Buddy Arts, Combat Arts, and Boost Move — that define how you fight Titans. Each system operates independently but overlaps during high-synergy encounters, where chaining all three in a single engagement window creates the burst damage needed to stagger boss Titans and expose their napes.
Buddy Arts: Squad-Based Combo Attacks
Buddy Arts are cooperative abilities that trigger when your squad synergy gauge sits above the yellow threshold. Each Buddy Art activates through a two-button combination — lock onto a Titan limb, then hold the synergy trigger. The art fires automatically once your AI squadmates confirm the synchronization, which takes roughly half a second. If the gauge drops below threshold mid-activation, the art cancels and you lose the gauge portion you invested. The most efficient way to maintain Buddy Arts uptime is to stagger your activations: fire one art, let the passive regeneration fill the gauge back above threshold, then fire the next.
Combat Arts: Individual Power Moves
Combat Arts are solo abilities that deal the highest single-target damage in the game. Each character carries one Combat Art that activates when their personal stamina gauge is full. The stamina gauge fills through successful nape strikes and depleted by missed attacks or taking damage. Combat Arts have a long wind-up — roughly 1.5 seconds — during which you are stationary and vulnerable. The key to using Combat Arts safely is to trigger them immediately after a Buddy Art pins the Titan, because the pinned state prevents the Titan from attacking while your art charges.
Boost Move: Emergency Mobility Burst
Boost Move is the mobility tool that doubles as an emergency evasion option. When activated, your character fires both ODM anchors simultaneously and accelerates in a chosen direction at roughly triple normal ODM speed. The burst lasts roughly two seconds and has a short cooldown of eight seconds. In combat, Boost Move serves three purposes: emergency escape when a Titan attack is about to land, rapid repositioning to reach a staggered nape window, and traversal across Exterior Scouting maps to reach supply bases or rescue isolated squad members.
Casual Mode and Simplified Controls
Attack on Titan 3 includes a Casual Mode that simplifies the combat ability system for newcomers. In Casual Mode, Buddy Arts activate with a single button press instead of the synergy trigger combination, Combat Arts auto-target the nearest nape, and Boost Move cooldown is reduced from eight seconds to four. Casual Mode does not change damage values or Titan health pools, so the same strategies apply — the only difference is execution difficulty. Players who want to experience the full story without struggling with the combat timing should start in Casual Mode and switch to Normal once they are comfortable with the rhythm of chaining abilities during multi-Titan encounters.
Combat Ability Comparison
| Ability | Trigger | Cost | Cooldown |
|---|---|---|---|
| Buddy Arts | Synergy gauge > yellow | Gauge portion | None |
| Combat Arts | Stamina gauge full | Full stamina | Auto-regen |
| Boost Move | Manual | None | 8 seconds |
Ability Chain Damage Output
| Chain Order | Total Damage | Stagger Window |
|---|---|---|
| Buddy then Combat | High | 3 seconds |
| Buddy then Combat then Boost | Very High | 2.5 seconds |
| Combat only | Medium | 1 second |
Casual Mode Differences
| Feature | Normal Mode | Casual Mode |
|---|---|---|
| Buddy Arts | Two-button combo | Single button |
| Combat Arts | Manual aim | Auto-target |
| Boost Move CD | 8 seconds | 4 seconds |
Combat Ability Chain Combinations
The most effective way to use combat abilities in Attack on Titan 3 is through chained combinations that stack stagger windows. The basic chain starts with a Buddy Arts pin that locks a Titan limb for three seconds, followed immediately by a Combat Arts strike that deals high single-target damage during the pin window. Advanced players add a Boost Move at the end of the chain to reposition away from the Titan before it recovers, ensuring they never take a recovery swing to the face. This three-phase chain — Buddy Arts into Combat Arts into Boost Move — is the backbone of every Hard Mode boss strategy and the default engagement pattern for experienced players. The key metric is damage per second during the stagger window, and the chain consistently outperforms any single ability used in isolation by a factor of two to three.
Combat Ability Resource Management
Each combat ability consumes a different resource: Buddy Arts use the synergy gauge, Combat Arts use the stamina gauge, and Boost Move has a cooldown timer. Managing all three resources simultaneously is the core skill that separates intermediate players from advanced ones. The synergy gauge regenerates passively when your squad maintains formation and actively when you land synchronized attacks. The stamina gauge fills through successful nape strikes and drains when you miss or take damage. Boost Move cooldown ticks down regardless of what else you are doing, which means you should use it roughly every eight seconds to maximize your total mobility throughout an encounter. Players who let one resource sit at maximum while others are depleted are wasting potential output, because every ability you fail to use within its availability window represents lost damage that you cannot recover later in the fight.
Advanced Combat Ability Timing
Advanced timing involves reading Titan attack animations and triggering abilities at the precise moment that maximizes your damage window. When a Titan begins its wind-up animation — the tell that precedes every attack — you have roughly one second to decide whether to commit resources or save them. If the Titan is about to use a grab attack, the correct response is Boost Move away from the danger zone and then immediately re-engage with a Buddy Arts pin once the grab whiffs. If the Titan is preparing a stomp, you can commit a Combat Art during the wind-up because the stomp recovery animation gives you enough time to complete the art before the Titan can attack again. Reading animations correctly doubles your effective damage output because you spend less time dodging and more time attacking during Titan vulnerability windows.
Buddy Arts Pairing Guide
Each character in Attack on Titan 3 has two to three Buddy Arts pairings that determine which cooperative abilities they can trigger with their squadmates. The pairing system is based on character relationships from the anime: Eren pairs with Mikasa and Armin, Levi pairs with Mikasa and Hange, and Jean pairs with Connie and Sasha. When two paired characters are in the same squad and the synergy gauge is above threshold, their Buddy Art becomes available during combat. The art itself combines elements from both characters — for example, the Eren and Mikasa Buddy Art has Eren pin the Titan limb while Mikasa delivers the nape strike, creating a synchronized animation that deals significantly more damage than either character could manage alone. Players building squads should always check the pairing chart before finalizing their roster, because including two characters who have no Buddy Arts pairing wastes the synergy potential that the combat system is built around.
Combat Difficulty Comparison
Attack on Titan 3 offers three difficulty modes that directly affect how combat abilities function. Normal Mode is the default experience where all ability mechanics work as described — Buddy Arts require the two-button combo, Combat Arts need manual targeting, and Boost Move has the standard eight-second cooldown. Hard Mode increases Titan health pools and attack damage by roughly fifty percent, which forces you to chain abilities more efficiently and punish mistakes more severely. Casual Mode simplifies the execution requirements without changing the damage values, making it the recommended starting point for players who want to experience the story without struggling with combat timing. The key difference between Normal and Casual is that Casual Mode removes the execution barrier while keeping the strategic depth, so players who learn the game in Casual can transition to Normal with the same tactical knowledge and only need to improve their mechanical execution.
Synergy Gauge Optimization
The synergy gauge is the shared resource that powers Buddy Arts and determines how frequently your squad can trigger cooperative attacks. The gauge fills through three mechanisms: passive regeneration that ticks upward whenever your squad maintains tight formation, active regeneration that triggers whenever two squadmates land synchronized hits on the same Titan limb, and bonus regeneration that occurs when you complete a Buddy Arts chain without dropping below the yellow threshold. The gauge decays when squad members take damage, when formation breaks because a member strays too far from the group, and when a Buddy Art activation fails because the gauge dropped below threshold mid-cast. The key optimization insight is that passive regeneration alone is sufficient to maintain the gauge above the yellow threshold during standard encounters, which means you should save your active regeneration sources — the synchronized hits — for boss encounters where you need the gauge to fill faster than the passive rate allows. Players who waste active regeneration on easy fights often find themselves unable to trigger Buddy Arts during the critical stagger windows of boss encounters.
Frequently Asked Questions
What is the most important thing to know about this system?
The most important thing is understanding how the core mechanics interact with each other, because every decision you make in one system cascades into the others. Players who treat each system in isolation consistently underperform compared to those who see the connections.
How do I get started as a beginner?
Start with the basics and build up gradually. Focus on mastering the fundamental mechanics before attempting advanced strategies, and experiment with different combinations to find what works best for your preferred playstyle and squad composition.
What should I prioritize for the best results?
Prioritize understanding synergy connections and resource management first. These two systems have the largest impact on overall performance, and players who master them early will find every subsequent encounter significantly easier than those who skip the fundamentals.