 Attack on Titan 3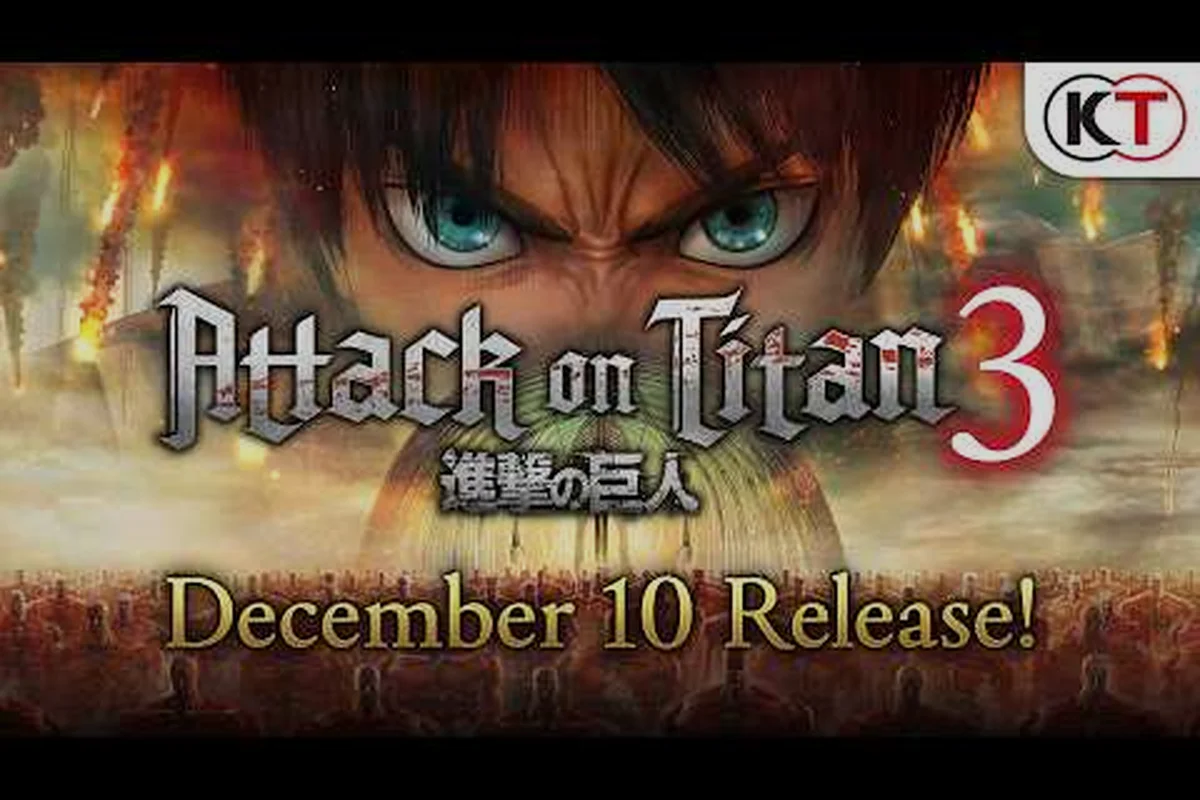
Jump into Attack on Titan 3 with confidence using these battle-tested tips and tricks that cover ODM gear mastery, squad coordination, and Titan takedown tactics. Whether you are brand new to the franchise or returning from AOT2, this starter guide gives you the edge in every campaign walkthrough mission, and it sets the foundation you need before tackling the harder Nine Titan encounters.
Essential Starter Tips Every New Player Should Know
Beginning your Attack on Titan 3 journey can feel overwhelming because the game layers multiple combat systems, squad management tools, and branching missions on top of one another. The good news is that the difficulty curve is forgiving if you respect a few core principles from the start, and the developers at Omega Force have built several safety nets for newcomers who follow a thoughtful new player guide.
Pick the Right Difficulty and Control Scheme
Before your first engagement, configure the control layout and difficulty settings to match your experience level. Casual mode simplifies ODM gear handling and auto-targets weak points, which is perfect for anyone following a fresh Attack on Titan 3 starter guide. Standard and Hard modes unlock manual weak-point aiming, fuel drain penalties, and harsher squad morale consequences that punish sloppy play. The Simple Controls mode for ODM gear, confirmed in the DLCompare gameplay presentation, reduces analog stick input to single-button presses so players who have never touched a musou-style aerial action game can still hit the ground running.
| Mode | Combat Complexity | Resource Pressure | Recommended For |
|---|---|---|---|
| Casual | Simplified aiming, auto-targeting | Low fuel drain | Beginners, story-focused players |
| Standard | Manual weak-point aiming | Balanced | Returning players, intermediate veterans |
| Hard | Full manual control, permadeath squad | Aggressive fuel and blade drain | Action-game experts |
If you need a deeper walkthrough of the control options, our starter guide breaks down keyboard, controller, and casual mode toggles in detail. Also enable Japanese audio with English subtitles if you want the authentic MAPPA-voiced experience that fans celebrated in earlier entries, because the opening animation by Arifumi Imai pairs naturally with the original cast.
Learn the Three Universal Survival Rules
Every Attack on Titan 3 starter guide worth its salt hammers the same three rules because they govern every mission you will run, and ignoring them costs more retries than any boss mechanic:
-
Never run out of fuel mid-air — a grounded Scout is a dead Scout
-
Always carry two spare blades — one snaps during high-speed grappling
-
Stay above the Titan's chest height — limb attacks save your life against tall variants
These rules form the foundation that every advanced strategy builds upon, and they apply whether you are defending Wall Maria or pushing deep into Exterior Scouting territory.
Mastering ODM Gear Movement and Aerial Combat
ODM (Omni-Directional Mobility) gear is the single most important tool in your kit, and Attack on Titan 3 introduces tighter physics, faster grappling, and a more responsive boost system than its predecessors. Movement proficiency separates players who clear missions on the first try from those who restart five times, which is why most speedrunners in the community log dozens of practice hours before chasing leaderboard times.
Core Movement Inputs at a Glance
| Input | Action | Best Use Case |
|---|---|---|
| LT or L2 + RS | Aim grapple hook | Closing distance to a Titan |
| RT or R2 | Fire gas boost | Aerial repositioning, evasion |
| A or X | Lock-on weak point | Setting up a nape strike |
| X or Square | Blade slash | Mid-air attack window |
| B or Circle | Blade retract | Reset combo after a hit |
The grappling system rewards rhythm over button mashing, which is why raw reaction time matters less than your hook timing curve. Fire your hook, let your character arc, then fire the next hook at the apex of the swing. Veteran players report that chaining four to five grapples per second creates near-untouchable flight paths against even the largest Titans because the camera lock interrupts their tracking AI. Our ODM gear tutorial has the full timing breakdown for early, mid, and late game encounters.
Boost Move as Your Emergency Button
Boost Move bursts you in any direction for rapid repositioning, and it doubles as your panic button when a Titan swats at you unexpectedly. Use it sparingly because the meter recharges slowly during sustained combat, and committing two charges in quick succession leaves you exposed for the next eight seconds. Experienced Scouts on community forums recommend saving at least one Boost Move charge for the disengage phase of every engagement so you always have an exit when the situation collapses.
Combat Systems Explained: Buddy Arts, Combat Arts, and Boost Move
The three signature combat systems each serve a distinct purpose, and a complete Attack on Titan 3 tips and tricks guide must show you when to deploy each one. Many newcomers conflate these mechanics, which leads to wasted cooldowns and missed damage windows during the most critical phases of a fight.
What Each Combat System Does
| System | Trigger | Primary Purpose | Damage Tier |
|---|---|---|---|
| Combat Arts | Solo button combo | High single-target burst | Medium-high |
| Buddy Arts | Squadmate coordination | Multi-hit chain with ally | Highest |
| Boost Move | RT/R2 plus direction | Mobility, evasion, gap-close | None (utility) |
According to the GamesPress official press release, these three layers combine into the most expressive aerial combat system the franchise has shipped, which means mastering their timing windows is the single biggest skill ceiling you can chase.
Buddy Arts: The Squad Killer
Buddy Arts trigger when you attack the same Titan simultaneously with a tagged squadmate, producing flashy cinematics and significantly higher damage than solo strikes. According to community testing, a coordinated Buddy Arts chain can shave 30 to 40 percent off a mid-sized Titan's health bar in under ten seconds when timed correctly, which makes them the backbone of any optimized squad build.
To unlock Buddy Arts reliably, position yourself within 15 meters of an ally, lock onto the same nape region, and strike within the same half-second window. Squad morale influences the success rate, so keep your teammates alive, equipped, and rested between deployments. Each successful Buddy Arts activation also grants a temporary morale boost to nearby Scouts, which compounds the effect across long missions.
Combat Arts for Solo Damage
When you are separated from your squad, Combat Arts fill the gap. These individual techniques consume stamina but ignore the squad-coordination requirement of Buddy Arts. The Rending Slash combo is the most reliable opener because its wide arc catches multiple body parts at once, while Calamity Burst serves as your finisher against downed Titans and adds a brief stagger that lets you reposition safely.
Mission Strategy for Exterior Scouting Operations
Exterior Scouting Missions represent the most complex content in Attack on Titan 3, blending real-time combat, base building, and resource logistics. Your campaign walkthrough hinges on mastering these deployments because they generate the rare materials needed for high-tier gear upgrades, and they unlock the bonus dialogue scenes that flesh out the supporting cast.
The Advance or Retreat System
Every Exterior Mission presents a critical binary: push deeper for richer rewards or pull back to protect your squad. The squad morale system and permanent death mechanic make this decision weighty, because fallen named Scouts are gone for the rest of the campaign. According to community reports, pushing past the third checkpoint without resupply results in a 60 percent squad casualty rate against Heavy Titans, which is why disciplined players treat the third checkpoint as a hard decision gate.
| Decision | Reward Multiplier | Squad Risk | When to Choose |
|---|---|---|---|
| Push past 3rd checkpoint | 2.5x materials | High | Full fuel, full blades, four or more squadmates |
| Hold at checkpoint | 1.0x materials | Low | Under-equipped, low morale |
| Tactical retreat | 0.5x materials | None | Casualties exceeding 25 percent |
If you want a full breakdown of outpost reclaim mechanics, our campaign walkthrough covers the horse riding and binoculars scouting systems that complement supply base deployment, plus the environmental surprise attacks that ambush careless expeditions.
Supply Base Building and Resource Flow
Planting a supply base at a checkpoint unlocks fast travel, blade restocking, and a safe zone for wounded Scouts. Community testing recommends placing supply bases every two checkpoints during long expeditions to maintain operational tempo, because the cost of building a base is far lower than the cost of reviving a fallen squadmate. Fuel resupply at your base recharges three full canisters, which lets a Scout chain three more mid-air combos before the next base becomes mandatory.
Boss Battle Tactics Against the Nine Titans
The Nine Titans boss encounters are the centerpiece of Attack on Titan 3, each with unique attack patterns, weak points, and phase transitions. A reliable Attack on Titan 3 mission guide must teach you to read tells, manage cooldowns, and exploit downtime because raw damage output alone will not save you against the Armored or Colossal variants.
Titan Matchup Reference
| Titan | Primary Weak Point | Phase 2 Trigger | Recommended Squad |
|---|---|---|---|
| Armored Titan | Joints (ankle, knee) | Armor break at 50 percent HP | High-impact damage dealers |
| Beast Titan | Ranged projectile evasion | Rock storm AoE barrage | Agile evasion specialists |
| Colossal Titan | Steam vent windows | Steam burst AoE pulse | Spread formation scouts |
| Attack Titan | Counter-strike windows | Self-harm retaliation flurry | Buddy Arts combo team |
These encounters reward pattern recognition over raw damage, which is why most boss guides emphasize the two-second tell before each signature attack. Watch for the windup, sidestep or Boost Move to safety, then punish the recovery window with your heaviest combo. The Attack on Titan 3 Steam store page confirms that boss arenas include environmental hazards you can trigger for bonus damage, such as collapsing rooftops and falling cargo crates that stun the Titan for a free nape strike.
Phase Transitions and Damage Windows
Every Titan boss enters a second phase at roughly 50 percent HP, marked by a dramatic cutscene and an immediate area-of-effect attack. Save your Buddy Arts cooldowns for this moment because the phase transition is when your squad coordination deals the highest burst damage in the entire fight, and missing the window forces you to wait another full minute for the next opening. Stack Combat Arts finishers on the staggered Titan during the recovery animation, then immediately Boost Move out before the next tell begins.
Frequently Asked Questions
What is the best way to start Attack on Titan 3 as a new player?
Begin on Casual mode with the Simple Controls toggle enabled, then complete the first three story chapters to unlock the full ODM gear tutorial and Buddy Arts systems. This approach lets you learn grappling physics without punishing fuel consumption while you explore the campaign walkthrough at your own pace.
How do I manage ODM fuel during long missions?
Carry two gas canisters in your inventory, refuel at every supply base checkpoint, and avoid firing grapple hooks during recovery animations because wasted hooks still consume fuel. Community data suggests that disciplined fuel management can extend a mission by 40 percent compared to aggressive hook spam.
Can I rescue fallen squadmates in Attack on Titan 3?
No, because Attack on Titan 3 uses a permanent death system for named squadmates in Exterior Scouting Missions, which makes squad positioning and morale management critical parts of any mission guide. If a Scout falls in battle, they are gone for the remainder of that deployment and unlock a memorial scene in the hub afterward.
Which difficulty mode is best for the campaign walkthrough?
Standard mode offers the most balanced Attack on Titan 3 experience because it keeps Casual mode's forgiving aiming while introducing meaningful resource pressure. Hard mode is reserved for players who have already completed the campaign and want to test optimized squad compositions against permadeath conditions.
Does Attack on Titan 3 have a multiplayer or co-op mode?
Attack on Titan 3 is primarily a single-player campaign experience, but the Buddy Arts system creates cooperative squad dynamics within your own team of AI-controlled Scouts. For squad synergy tactics, check our beginner guide which covers how to tag teammates for maximum Buddy Arts damage and unlock the hidden squad morale bonuses.
Drop your toughest Attack on Titan 3 mission in the comments below, and share which Scout you tag first when the squad deploys into Exterior territory.