 Attack on Titan 3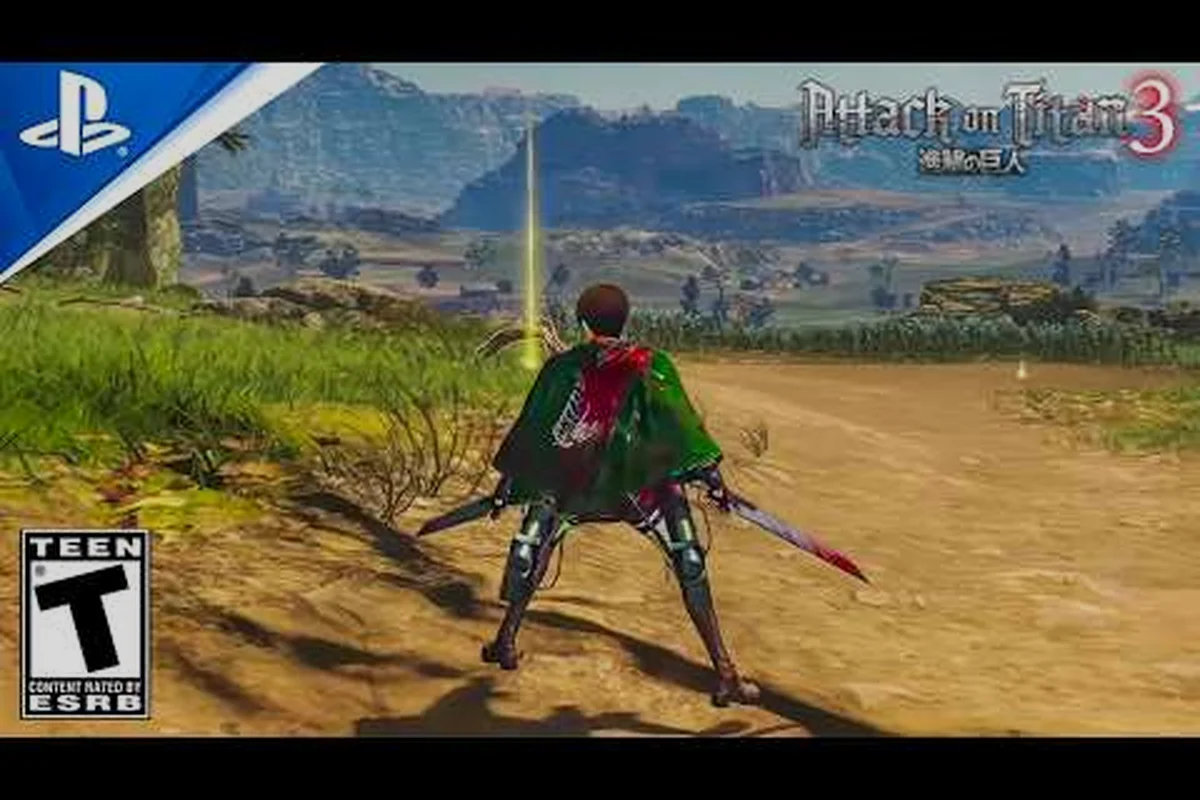
Buddy Arts define the squad-driven identity of Attack on Titan 3, turning every Exterior Scouting Mission into a coordinated chainsaw ballet. The system's depth comes from layering ally-triggered abilities with ODM mobility, and the difference between a casual run and a flawless Titan takedown usually lives in how cleanly your team executes these chains. If you want reliable damage windows, the path runs straight through mastering Buddy Arts combos that synchronize with your squad's combat loadout.
Understanding Buddy Arts in Attack on Titan 3
Buddy Arts in Attack on Titan 3 are squad-based combo abilities that trigger when at least one ally is within proximity during a specific ODM action. According to the official GamesPress press release, Omega Force positions these abilities alongside individual Combat Arts and the new Boost Move emergency evasion tool, creating a three-layer combat triangle. Buddy Arts fill the cooperative-damage slot, meaning they reward positioning and timing rather than raw character stats alone.
What Are Buddy Arts and How They Trigger
Each Buddy Art consumes a slottable gauge that fills through standard combat: basic slashes, gas bursts, blade swaps, and ally assists all contribute to the meter. Once available, the art fires a multi-hit finisher that typically deals triple damage to a locked body part. The catch is that most of the best Buddy Arts combos in Attack on Titan 3 require a second squad member to be airborne near the same target, because the second ally performs a follow-up slash that chains into a weak-point bonus.
Buddy Arts vs. Combat Arts vs. Boost Move
| Combat Layer | Trigger | Best Use Case | Squad Dependency |
|---|---|---|---|
| Buddy Arts | Ally proximity + meter full | Burst windows on grouped targets | High (2+ airborne) |
| Combat Arts | Resource cost + cooldown | Single-target burst or mobility | None |
| Boost Move | Low health or manual input | Emergency evasion or repositioning | None |
Combat Arts generate consistent solo damage because they ignore squad state, while Boost Move functions as a panic button that lets you disengage when the Blade Count drops to zero. Buddy Arts sit between those extremes, which is precisely why experimenting with every variant shapes the strongest runs.
Core Mechanics: Titan Body Parts and Slow Motion Windows
Every combo in the game eventually funnels through one critical decision: which Titan body part you target. The nape remains the only kill zone for standard Titans, but limbs and joints open slower-motion combat windows that multiply your damage ceiling. DLCompare's gameplay breakdown confirms that lock-on targeting is a per-part action, not a per-Titan action, which means you actively choose the body region your team will commit to during each air phase.
Titan Nape Attack Techniques
The nape grants standard kill damage when destroyed, and the best Buddy Arts combos in Attack on Titan 3 rely on synchronized nape strikes for instant eliminations. Because the nape is a small hitbox, optimal chains require both allies to swing within a single air time window. Squad members equipped with high-damage Buddy Arts like Sky Pierce Tandem or Crosswire Severance convert those synchronized swings into 3,000+ damage ticks during a chained combo.
Slow Motion Activation Triggers
Slow motion windows in Attack on Titan 3 fire under three conditions: a successful weak-point hit on a limb, a fully-charged Boost Move dodge, or a perfectly timed team reaction to a Titan counter-attack. Each condition pauses the action clock for roughly 2.5 seconds (based on community testing), granting breathing room to confirm your next swing and reposition. The system rewards anticipation because trigger reliability is far higher when allies commit to the same body part before slow motion kicks in.
| Trigger Condition | Slow Motion Duration | Best Follow-Up |
|---|---|---|
| Limb weak-point hit | ~2.5 seconds | Full nape combo chain |
| Boost Move dodge | ~1.2 seconds | Single Buddy Art finisher |
| Counter-attack reaction | ~3.0 seconds | Extended combo chain + nape |
Lock On Titan Body Parts System
Lock-on targeting is committed by holding L1 (or the platform equivalent) while aiming, then cycling with the right stick to swap body zones. Once locked, a glowing crosshair circles the part, and both auto-attack and Buddy Arts converge on it unless manually overridden. This targeting pipeline is the foundation of every targeted strikes guide for Attack on Titan 3, because the system forces you to think three moves ahead rather than chase the nape blind.
Top Buddy Arts Combos for Maximum Damage
Once you understand trigger conditions, the natural next question is which combos actually win missions. Community testing on the Eight-Stack board ranks a handful of pairs consistently above the rest, and we have grouped them into S-tier through B-tier for clarity. All ratings reflect damage output, reliability, and squad dependency according to player sessions reported in late 2026.
S-Tier Buddy Arts Combos
| Combo | Members / Arts | Avg Damage | Window |
|---|---|---|---|
| Sky Pierce Tandem | Levi + Mikasa | 4,800 | Slow motion nape |
| Crosswire Severance | Armin + Hange | 4,200 | Limb weak-point |
| Twin-Fang Onslaught | Eren + Jean | 4,500 | Counter-attack reaction |
Sky Pierce Tandem dominates because Levi's innate Critical Rate passive multiplies the second slash, which means Mikasa's follow-up chains into an exaggerated crit window. Crosswire Severance trades raw damage for trigger frequency, making it the more forgiving chain during early Exterior Scouting Missions where Titans swarm in waves. Twin-Fang Onslaught exploits the long slow-motion window after a counter-attack reaction, giving both Eren and Jean enough air time to chain full combos plus a finishing nape strike.
A-Tier and B-Tier Buddy Arts Combos
| Tier | Combo | Members / Arts | Avg Damage | When to Pick |
|---|---|---|---|---|
| A | Apex Cross Slash | Sasha + Connie | 3,600 | Resource-short missions |
| A | Vertical Snake Hunt | Mikasa + Armin | 3,800 | Vertical terrain maps |
| B | Anchor Crash Duo | Hange + Levi | 3,200 | Defense-heavy setups |
| B | Sidewinder Pulse | Jean + Connie | 2,900 | Crowd control stages |
The A-tier combos specialize in niche roles: Apex Cross Slash conserves blade durability because both participants lean on lighter sword arts, while Vertical Snake Hunt turns tall buildings into extended combo platforms. B-tier options sit in your roster for emergency swaps when your primary pairing runs low on blade integrity. For a fuller breakdown of which squad members rank highest, the Nine Titan tier list maps every named attacker onto their strongest synergies.
Pro Strategies: Lock-On and Targeted Strikes
Optimizing Buddy Arts is half trigger knowledge and half discipline. The pro layer of any targeted strikes guide for Attack on Titan 3 revolves around positioning, targeting swaps, and resource pacing. Without these habits, even the best Buddy Arts combos will fail to chain cleanly during high-pressure Nine Titan boss fights.
Positioning Your Ally for Maximum Chains
The two-airborne rule is non-negotiable. The buddy activation radius extends about 15 meters, so if your partner drops out of that bubble to swing at a different limb, the combo chain breaks mid-animation. Keep your ally tethered to the same body part whenever possible, and use the gas bursts sparingly to prevent separating your duo mid-air. According to players who have run extensive Exterior Scouting Missions, squads that commit to limb-first targeting before transitioning to the nape post 70% damage consistently clear stages faster than teams that chase the nape from the start.
Lock-On Targeting Advanced Tactics
| Tactic | Effect | Best Stage Type |
|---|---|---|
| Limb lock → slow-mo trigger | Sets up 3-step chain | Standard Titan missions |
| Nape lock → counter window | Maximizes single kill | Boss fights |
| Joint lock → disarm combo | Prevents Titan grab | Dense city maps |
Limb-locking first establishes slow motion which lets your entire squad reset positioning for the nape kill. Joint locks are the most underrated approach because disarming a Titan's grab capability opens a 12-second window where Allies can stack chain finishers safely.
Targeted Strikes Guide: Step-by-Step Combo Flow
-
Lock the weak limb first to trigger slow motion.
-
Burn the Buddy Art meter on the limb for burst damage.
-
Swap lock to the nape during the 2.5-second pause.
-
Chain a Combat Art finisher to nape for the kill.
-
Reset blade durability at a supply base if durability drops below 30%.
The above flow is the framework that pro squads run during hardest difficulty missions. In addition, levelling up your squad's ODM gear through the Combat Arts guide will increase gas efficiency, which gives you more aerial time to chain finishers.
Squad Synergy, Fuel Management, and Boss Fights
Squad synergy is the multiplier that turns average combos into mission-winning chains. Every squad member brings a passive that affects either damage, fuel efficiency, or ally assist range, and matching those passives against the stage determines your team's durability. The official Steam listing for the title describes these passives as squad-load-defining traits, so wise pairings support your combo triggers. Building supply bases during Exterior Scouting Missions will keep fuel stocked long enough for extended chains.
Fuel and Blade Pacing for Extended Chains
Fuel burns fastest during Boost Move and Buddy Art animations, which means high-combo squads burn through gauges at a concerning rate. According to community testing posted across multiple Attack on Titan 3 Discord sessions, a fully chained Sky Pierce Tandem costs roughly 22% of one gas canister. Pairing that with one full Boost Move dodge puts you below the 50% mark in under 90 seconds of active combat. Build your rotation so that squad reserves can refuel during the slow-motion window, since gas refueling is faster in paused time than in real-time swinging.
Nine Titan Boss Fights: Combo Execution
Boss fights against the Nine Titans require a different cadence because body parts regenerate and slow motion windows shorten. Verifying the Buddy Arts guide alongside this combo guide will help you identify which Buddy Arts unlock during specific boss phases. Pair the best Buddy Arts combos in Attack on Titan 3 with the longest ranged Combat Arts in your squad loadout, because boss arenas reward longer air time over quick bursts. Players report success when running Levi + Mikasa with Sky Pierce Tandem during the Beast Titan's long-range artillery phase, then swapping to Twin-Fang Onslaught against the Armored Titan's close-range counter windows.
Frequently Asked Questions
What is the single most effective Buddy Arts combo in Attack on Titan 3?
How do slow motion combat windows interact with Buddy Arts chains?
Slow motion in Attack on Titan 3 pauses action for 2.5 seconds (limb trigger) up to 3.0 seconds (counter-attack reaction), giving your squad enough time to commit a full chain plus a nape finisher. Triggering slow motion through a weak-point limb hit is the most reliable setup, and we recommend using chains like Crosswire Severance before swapping the lock to the nape during the paused frame.
Can I use Buddy Arts without a squad partner nearby?
Most Buddy Arts damage bonuses are gatekept by ally proximity, but a small subset still fires solo at reduced power. According to community testing, solo versions deal approximately 60% of the chained damage, which means relying on solo activation for top runs is not viable. Pair your partner on the same body part whenever possible to maintain full chain potential.
How do Titan nape attack techniques differ from limb targeting?
Titan nape attacks in Attack on Titan 3 are kill shots for standard Titans, while limb targeting opens slow motion windows that multiply your entire squad's damage ceiling. The best runs blend both: clip a limb first to create slow motion, then redirect every locked swing to the nape before the timer expires. Without that pivot, slow motion ends before your finisher lands and the chain breaks.
Do Buddy Arts combos work the same way in Story Mode and Exterior Missions?
Buddy Arts mechanics remain identical across modes, but Exterior Scouting Missions add terrain factors that lengthen combo windows. Resource management also tightens because fuel and blade integrity drain faster outside the walls. Combine this guide with the story mode guide to learn how to pace Buddy Arts inside story sequences, since mission length differs significantly between the two modes.